The S-Mount is a variation of the mount position. It is a dynamic position that occurs when we shift ourselves to compensate for the opponent moving underneath us while we have them mounted.
Usually, this requires one knee to be down while the other to be raised, allowing us the hip movement to continue ‘riding’ our opponent and staying on top.
A common misconception is that mounting someone is a static hold. This is not accurate. The mount is a fluid position that requires the movement of hips, legs, torso, arms, and even the head to achieve stability and develop the pressure that enables us to pin an opponent.
At some stage, a savvy opponent will likely be able to build structure, build angles, or find openings that allow them to get back into the game. The S-mount is one way in which we can prevent this from happening.
How To Perform The S Mount (Step By Step)
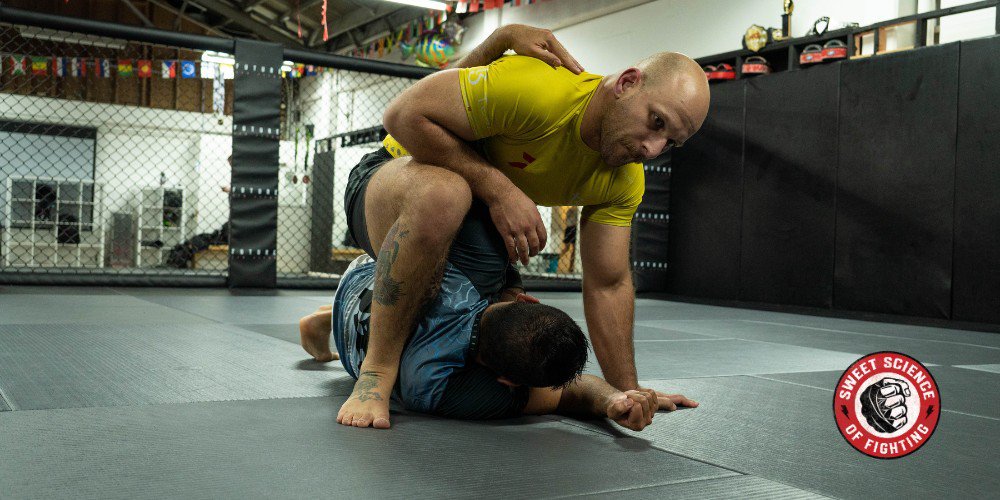
Step 1: Motivate Movement
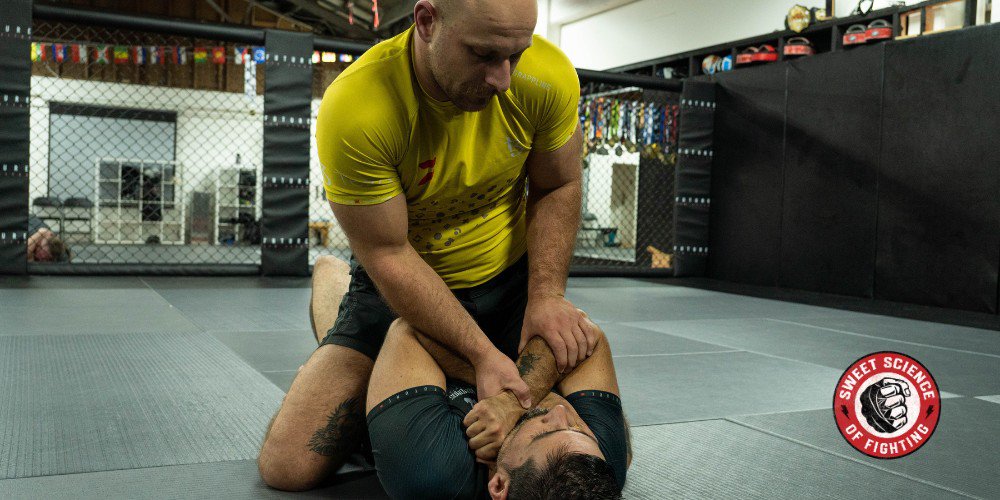
In an upright mount, I will isolate my opponent’s arm. If they are flat on their back under the mount, I will have to find a to motivate them to turn to their side so I can get to an S-Mount.
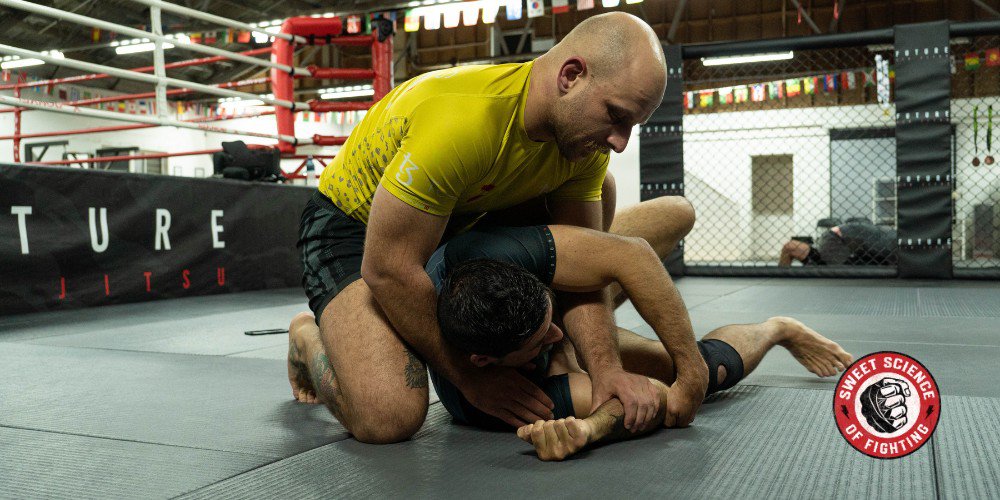
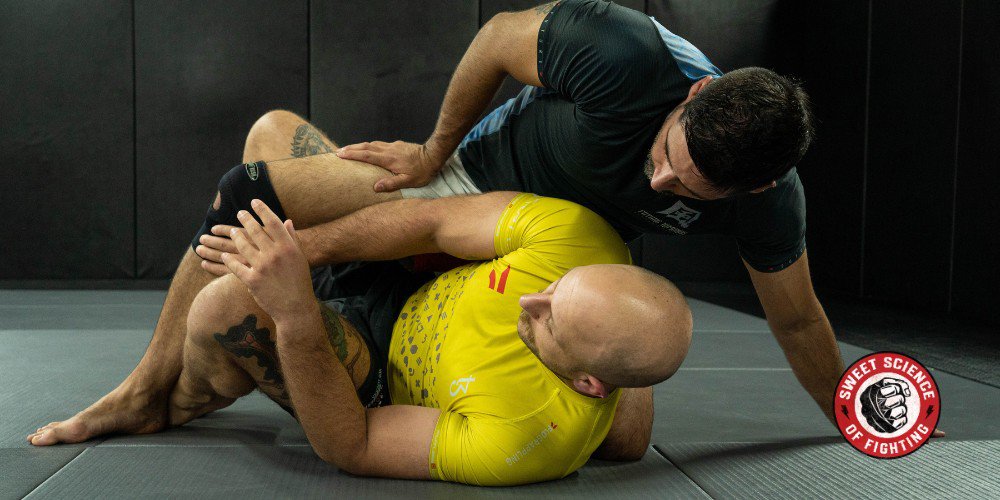
Step 2: Isolate The Arm
I pin the trapped arm to the mat. Most practitioners with experience will want to avoid this from happening to them. This will see a response.
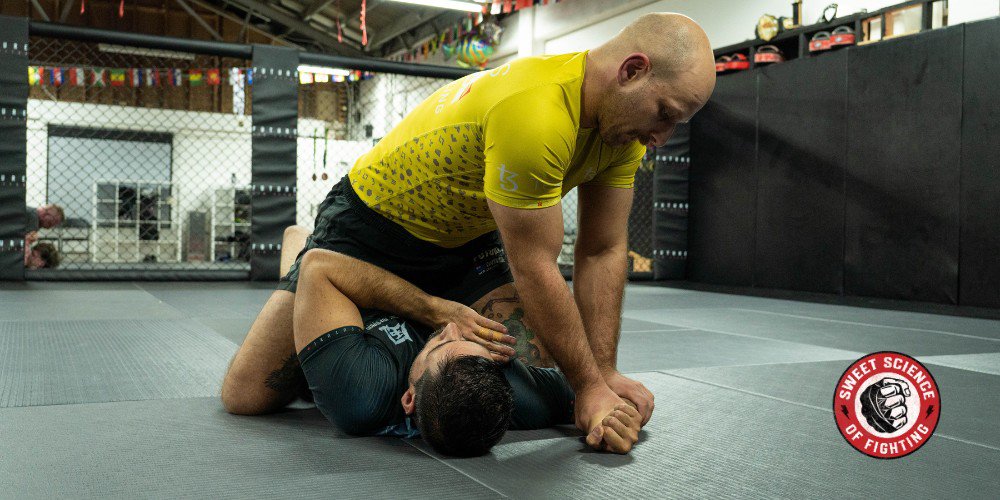
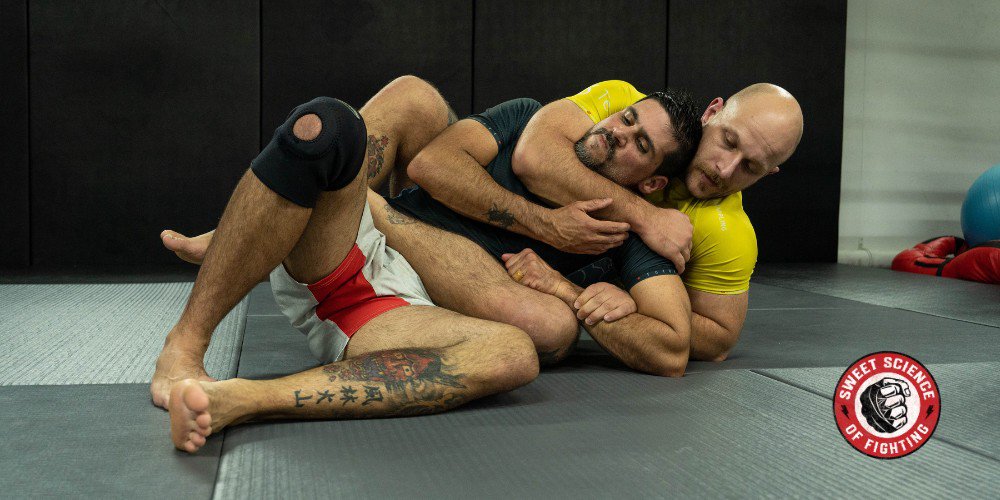
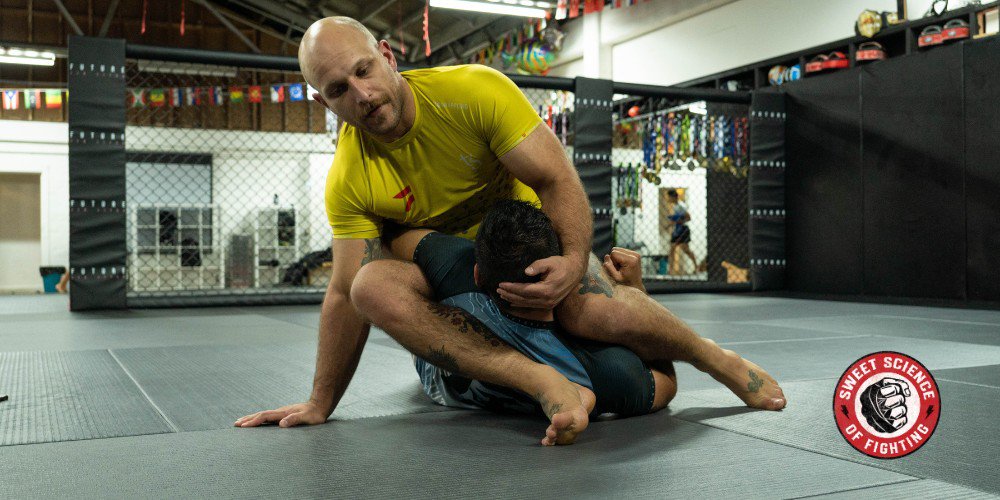
Step 3: The Exposure
As you can see, my opponent has responded to the arm pin by reaching across with his other hand.
He has had to bring his shoulder up and off the mat to do this. This is the exposure we need to create the S-mount
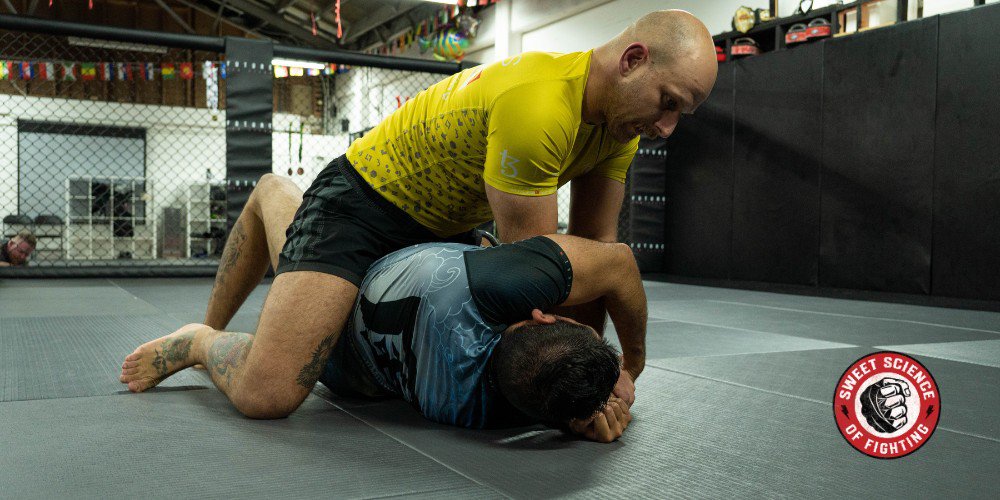
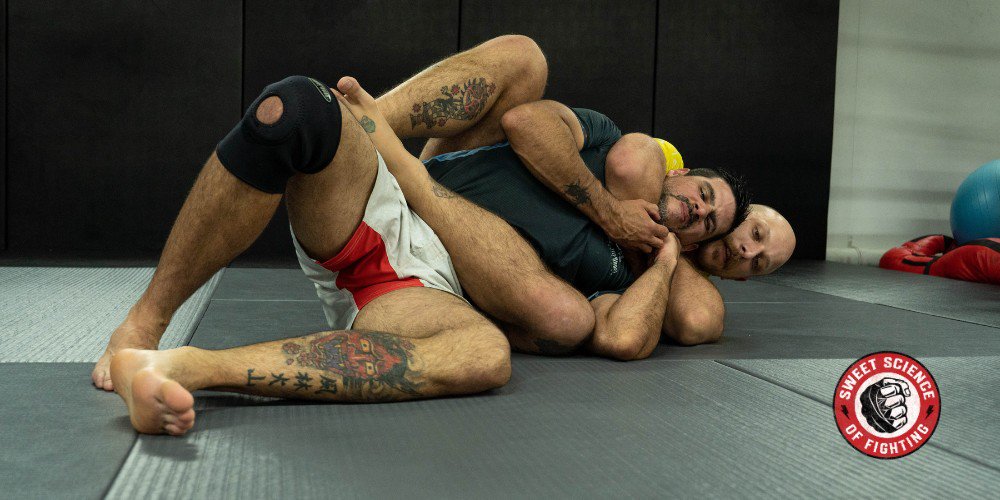
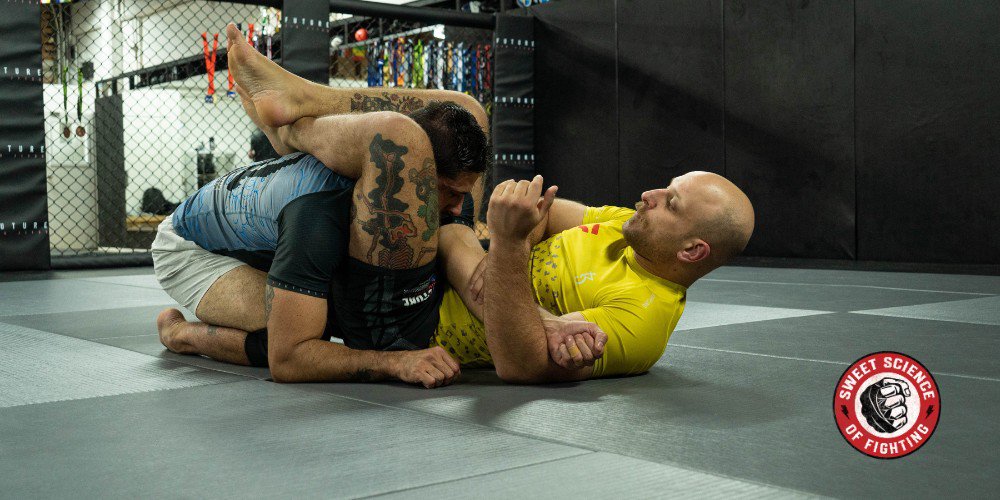
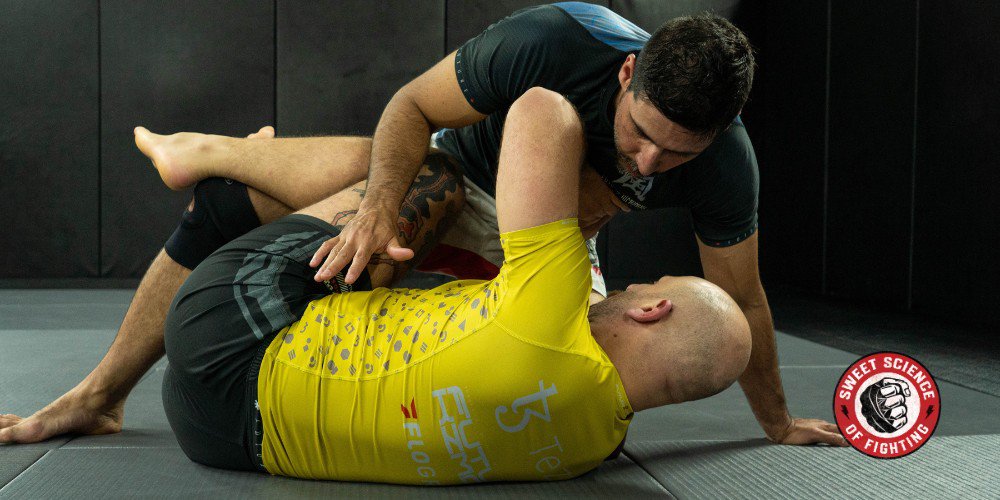
Step 4: S-Mount
My knee will now slide up and behind his shoulder to prevent him from returning to the mat. My other leg will lift with the knee pointing to the ceiling. I have now achieved the S-mount!
Submission Options From S Mount
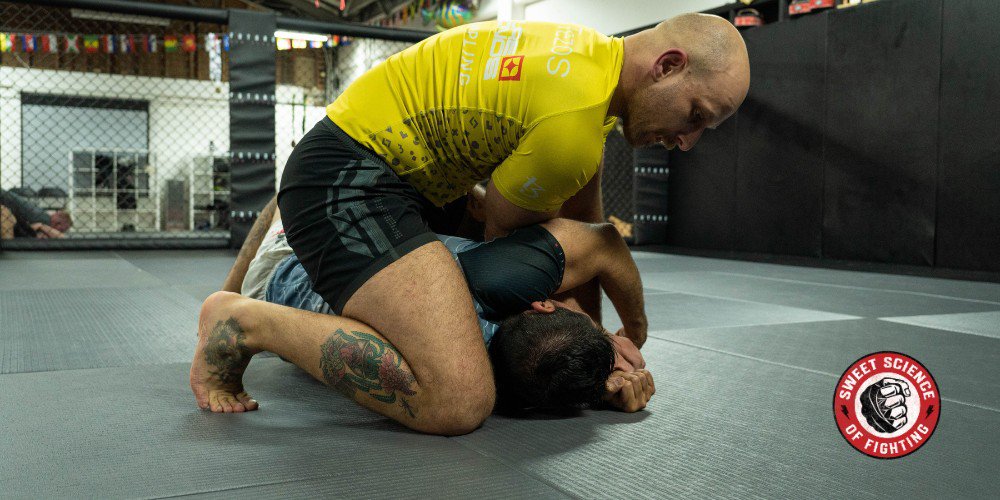
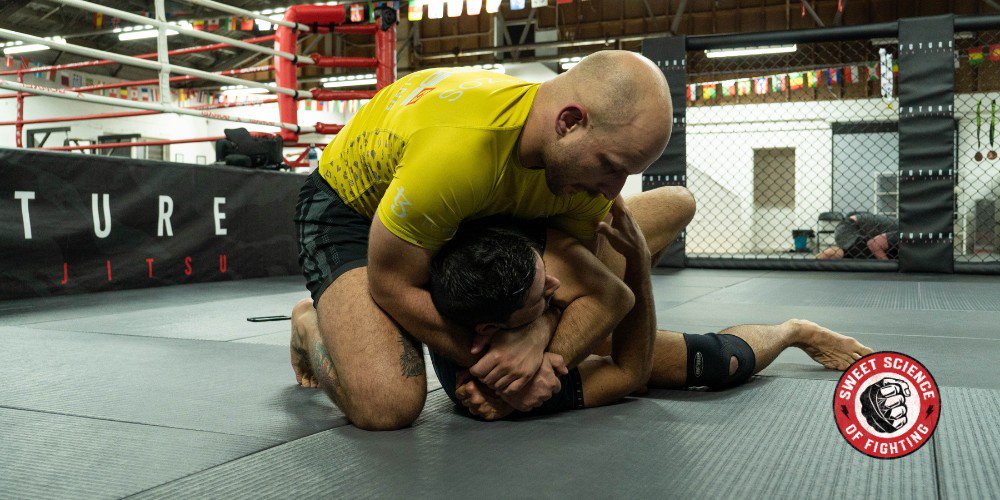
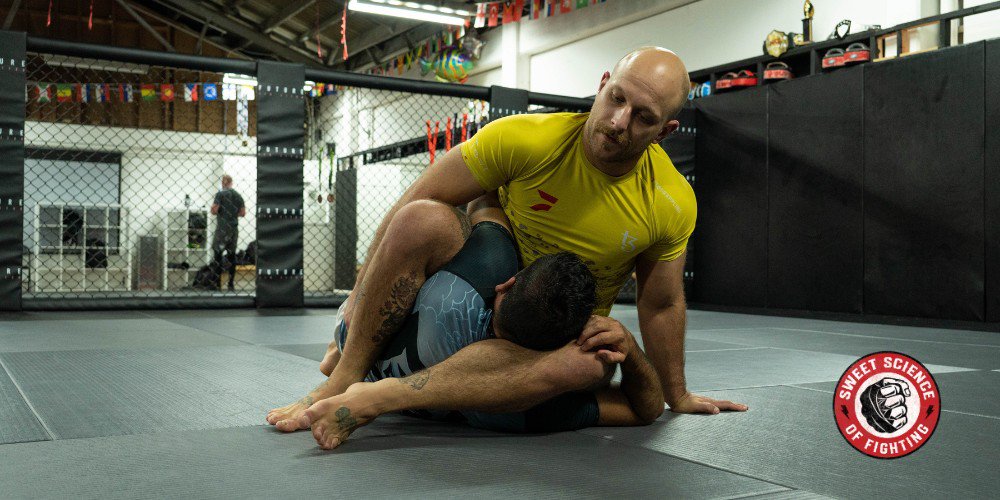
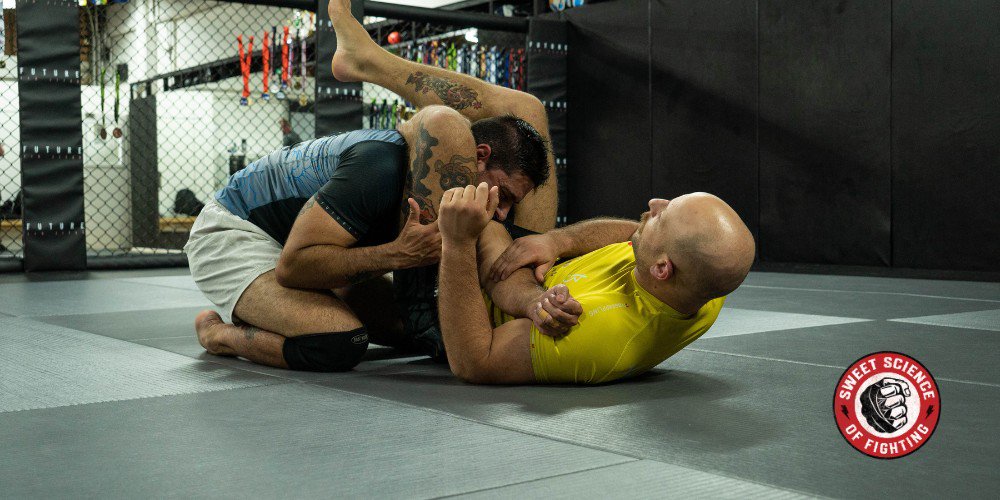
Step 1: Creating The Gift Wrap
Now that I’m in the S-Mount, I want to create a ‘Gift Wrap’ to take the back and finish a Rear Naked Choke. As you can see, I reach behind my opponent’s head, aiming to connect my hands around his.
5 Step Blueprint To Build A BJJ Strength Workout To Demolish Your Opposition
Learn how to plan your strength training to maximize transfer to the mats.
Step 2: Secure The Gift Wrap
I use the hand behind his head to connect to his top hand’s wrist. My pinning hand then connects to my own wrist to create the ‘Gift Wrap’ or figure four. Using this grip, I can control his top shoulder and create exposure to take his back.
Step 3: Chair Sit
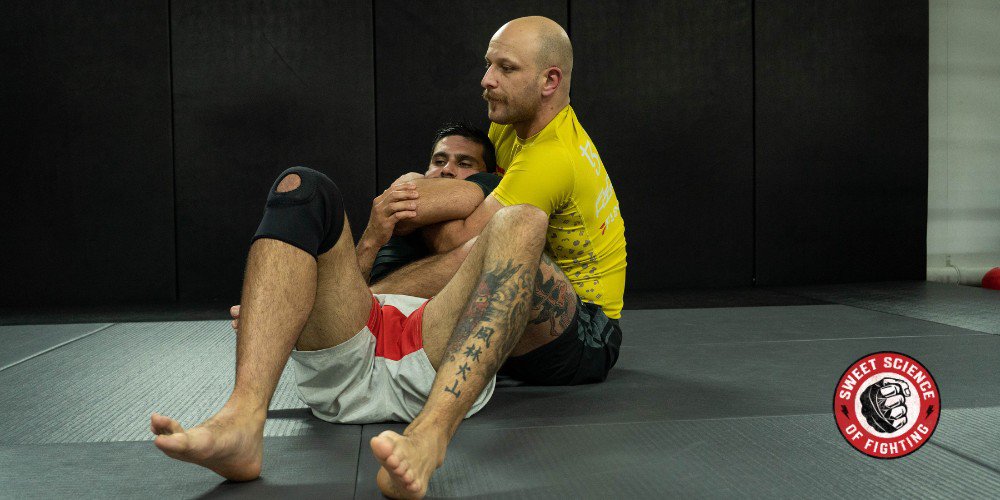
I begin to sit to my hip and pull my opponent up with the figure four against my chest. This movement is commonly known as the ‘Chair sit’ as I sit over onto my hip with the leg across his hip. This will become my bottom hook as I sit over and take his back.
Step 4: Sit Over
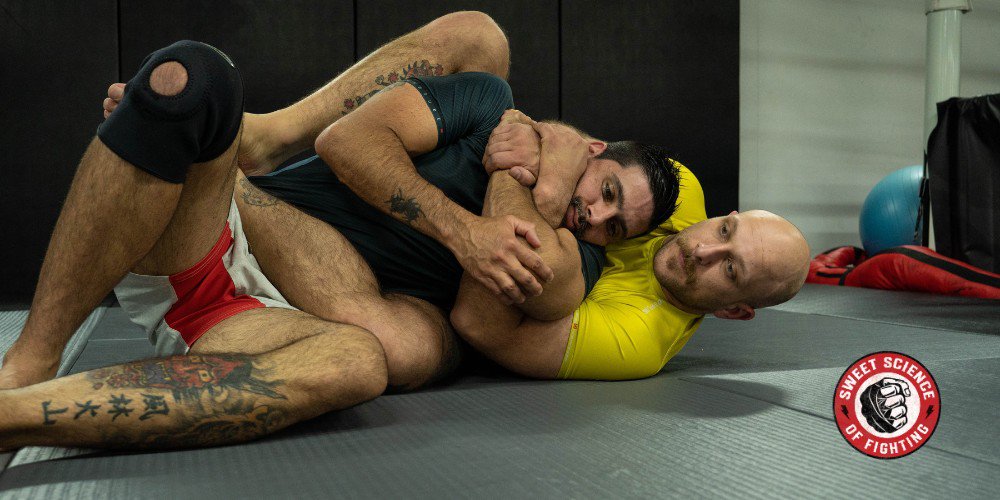
Once I Chair Sit, I fall to my opposite side to create a back control situation. My leg crossing his body has now become a hook that will control his hips and prevent escape.
Step 5: Create Space

Using my Gift Wrap, I push his arm down towards his hip to start exposing his neck. You can see that my top-side arm is now flush to his neck. I will need this to create the strangle.
Step 6: Get The Neck!
My top side hand now wraps under his chin and around his neck. I hide my fingers behind his shoulder blade to secure it. I also prop onto my shoulder to pull out my bottom hand to cinch the Rear Naked Choke.
Step 7: Finish The Rear Naked Choke
Once I pull my bottom arm out, I punch my hand behind his head and put my fingers of the choking hand into the crook of my elbow. I now have a fully cinched Rear Naked Choke, and I can begin to squeeze for the strangle and finish my opponent.
The Triangle Variation
Step 1: Wrist Control

Let’s use the same two-on-one wrist pin again in the mount to see what kind of reaction our opponent gives us.
They won’t always do the same thing; that’s just not how this works. For example, they may post with their free hand in a hail-mary attempt to press us off the mount.
Step 2: Trace The shoulder
Our opponent took their free hand and posted into my armpit to press me off the mount. This leaves their arm majorly exposed, and we will take advantage! I bring my knee up to their shoulder line as I pivot around the post they have created with their arm.
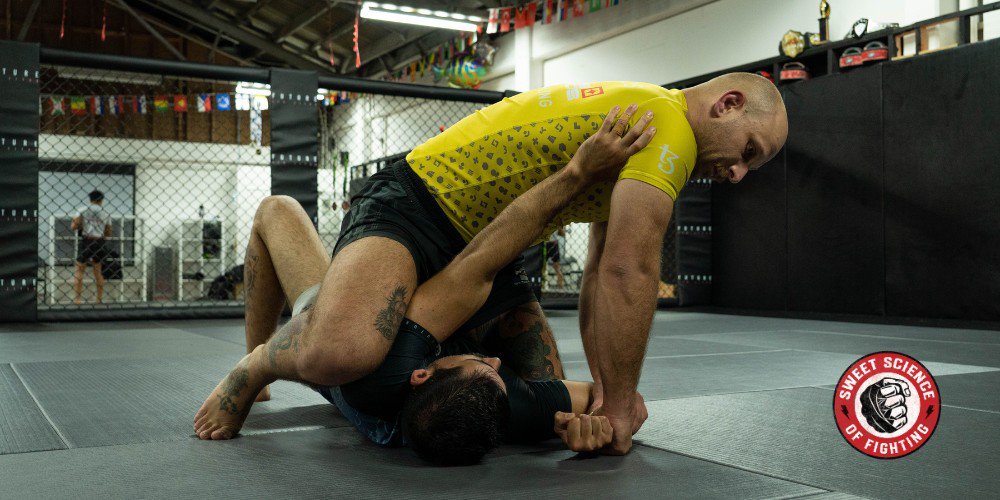
Step 3: Isolate
Now that I’ve isolated their arm, I will raise my knee, tracing his elbow. At the same time, I clamp my elbow down and trap his hand between my body and arm. This will give me good control and isolation of their shoulder.
Step 4: Step Up
With their arm trapped, I can now step up. The effect of this is to bring their shoulder fully off the mat. This is going to create plenty of exposure for our ‘S-sit.’
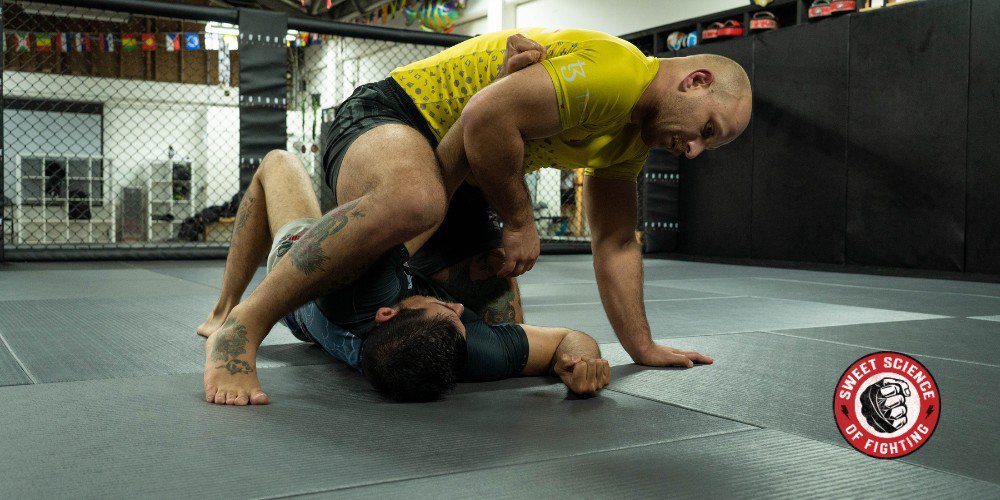
Step 5: S-Sit
The ‘S-sit’ is essentially the S-Mount, with our weight justified backward over our back hip. When I S-sit, it allows me to throw my stepping foot behind his head to the start of my triangle choke. I also grab his head and pull it up and off the mat to create more space for my legs to move.
Step 6: Insert The Strangling Leg
I swing my leg up and over his bottom arm, ensuring that my hamstring is flush to his neck. This is going to be the strangling leg, so you want to make sure there is no space!
Step 7: Sit Off
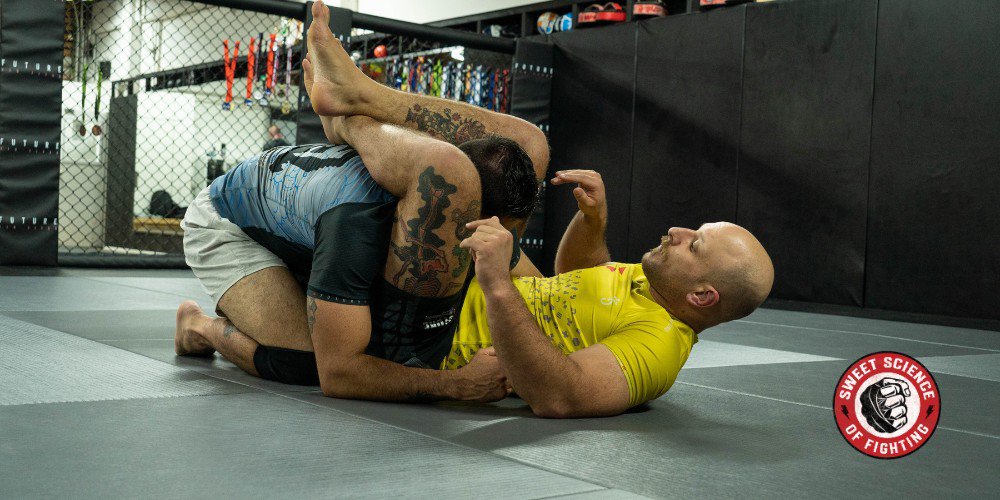
Now that you have a bite, you can start to sit off and move your hips around the neck and shoulder of the opponent that you have trapped.
Step 8: Recover Their Arm
If necessary, recover their trapped arm from outside your body, bringing it across the centerline. This will help to maximize your strangling potential when you start angling off.
Step 9: Angle Off And Cinch The Triangle
Everything is in place for you to lock your triangle, angle off, and finish the triangle.
Your strangling leg should tuck under your top leg, draw your knees back towards you, and squeeze your knees together to get the tap.
How To Escape The S Mount
Step 1: Push On The Knee
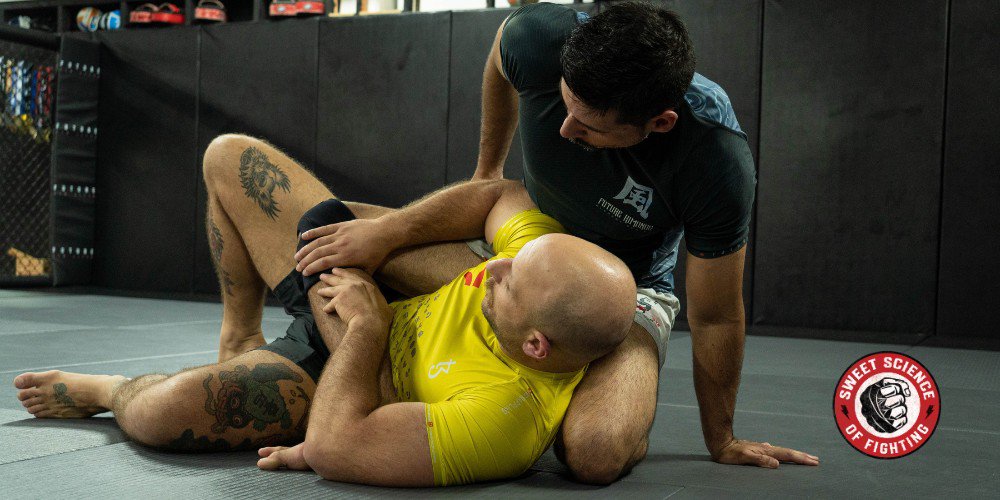
When I’m under S-Mount, I need to start creating space if I want any hope of escaping.
I can start creating this by pushing on the top knee to disrupt their base.
Step 2: Make Space
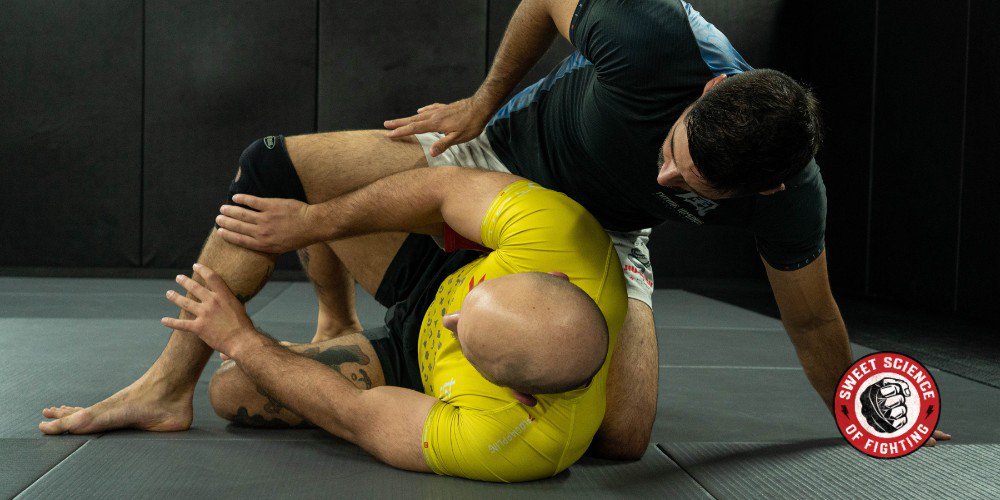
I push away from his legs with my arms while escaping my hips to create space under his body.
Remember, it’s less about trying to bench press him away with my arms here than framing with my arms, planting my feet, and projecting with my hips.
Step 3: Shrimp!
Now that I’ve made space, I want to bring my bottom knee through to the near side of my body. From here, I can start to regain my guard.
Step 4: Turn In
Now that I’ve freed my leg, I rotate my hips to face in and regain a half-guard situation. At this stage, I can build up and recover or start working on sweeping or submitting again.
Summary
In conclusion, the S-mount is a diverse position that offers a range of opportunities to progress our positional dominance or build submission opportunities. Hopefully, this article provides a few ideas and insights that will encourage you to explore the position and the options it offers.